The American Birding Association estimates that more than half a million birders are active in the United States. The organization also says that as birding has grown in popularity, so has the interest of photographers who want to share their pictures, which is becoming increasingly popular on social media sites.
With that in mind, it’s no surprise that birders and photographers have to cross paths quite a bit. Traditionally, these two sub-communities have been separated by one major factor: technology. Most birders are familiar with the many websites and apps designed for them to take photos of birds from their smartphones. However, the photographer community has only recently warmed up to the idea of using their professional devices to photograph birds.
In reality, though, there is no shame in being a beginner when it comes to photography; it’s fine to be a beginner at anything that gets you out into nature. That said, I’m here to simply tell you how to capture birds in flight and in their natural habitat using a good camera and basic kit.
Getting Started
Before I go into the technical specifics about how to get the best shot when photographing birds, it’s important to learn a few things beforehand:
Find out which birds to expect
Getting started photographing wild birds requires researching the different species you’ll find in an area. There are many app options, including one from Cornell Lab of Ornithology, to help you identify bird species.
There are also websites like AllAboutBirds.org that offer information about birds and tell you what species are most likely to be found in your area.
You should also check out local nature parks ahead of time and put their Facebook pages on your news feed so you can see when they post updates about the latest sightings at the park, which can give you some idea of when and where specific species tend to gather.
Some birds are camera shy
Birds, unfortunately, aren’t always camera friendly. Some species should be left alone, but some can be trained not to mind you being nearby. If you live in a region known for its bird population, you’re very likely to see a handful of them flying in your backyard at any given time — which makes it easier to get shots.
Locating birds
If you’re a beginner and don’t know where to start, try visiting natural settings instead of looking for all the different species of birds out there.
Try going to your local lake or park, look at the trees, see what’s there — that’s what the birds are looking for. They’re gravitating toward their habitat and will be attracted to a tree full of other birds. That’s where they’ll land, and that’s where you’ll have the most success.
Also, look for places where there are bird feeders or some other type of feeding station. If you see a lot of birds around, that’s probably the best place to set up your tripod and camera.
Be patient
It takes a lot of practice to learn how to photograph birds, so if you’re having trouble getting a great shot for your first photo outing, keep trying — you’ll get better the more you practice.
Learn the bird’s behaviour and habits
It’s easy to fall into the trap of taking a few shots of your birds and then just waiting for them to do something. That’s as boring as watching paint dry. It would help if you observed their behaviour to get some detailed shots as they go about their lives.
It’s fun when you have a camera in your hand to shoot anything interesting you spot, like at local bird-feeding stations or a bird bath during the rain.
It all adds up in the end because you’ll start understanding what makes your subject unique, how it looks when it is happy, how it looks when it is angry, and so on.
Photographing garden birds during nest-building
Getting this picture is not easy! However, when nest-building, birds are very busy, so it’s a good time to catch them in flight. First, you need Mom and Dad to build the nest. It’s best if you can train yourself to be out in your garden at 6:30 am every day so you can be ready when they arrive home from their nightly travels around 5:30 am.
Bird Photography Tips
Whether you’re a novice or a seasoned birder, here are some all-important technique tips to help capture those unforgettable bird moments.
Variable backgrounds
If the bird isn’t flying over or close to an interesting landscape, I prefer to leave it out of the photo altogether. (I do this by shooting from behind or below it.) This is one place where you can be creative. Try a water background or landscape made up of trees and rocks that are not too busy.
Also, keep your lens above 45 degrees and your background free of structures like buildings, trees and bushes. Birds don’t like to be boxed in. They are also likely to fly away if you keep a long lens trained on them for too long.
Lastly, if you get a bird picture on a dark background and know-how to perform basic editing using tools like Adobe, you can bring out some cool aesthetics of a bird, creating a fantastic final image.
Get down low
Try to get low down to capture photos of birds on the ground. This also makes it easier to see things that may be on their feet. Use your zoom lens and crop if needed, or simply get closer.
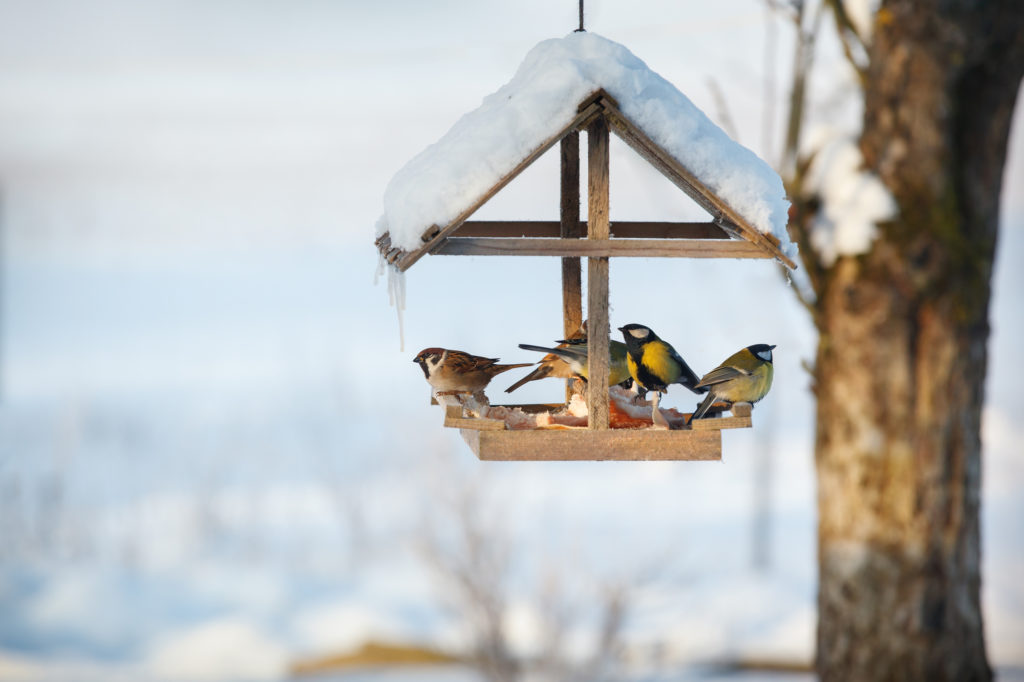
The feeder
When photographing small birds at a feeder, place yourself to the side so you don’t scare them with your shadow. Also, keep in mind that birds are more likely to approach a feeder when there’s another bird there already.
Another easy way to photograph birds at the feeder is to use a bird feeder camera. You can purchase special feeders or cameras which automatically photograph and video birds when they visit the feeding station. Some come with built-in AI functionality, which also helps identify the species.
The wait
Bird photography has much to do with patience. If you really want to capture a great image of birds in their natural habitat, you’re going to have to wait. It can be difficult to stay still for a long time, but it promotes patience and rewards you with more spectacular photos!
The technique
When you’re not using a tripod, I find that a two-handed grip works well when taking flight shots. It helps to keep your camera steady and gives you the ability to get the best image quality due to reduced shake.
The sounds
Birds can be hard to photograph when they’re vocalizing, so I try my best to avoid making any noise that may frighten them away. This can be tough at times, and if it happens, turn off your camera or try taking a shot at another time when they’re less vocal.
Get closer, from a distance
It’s almost always better to get close, but not too close. Don’t crowd or chase birds and give them a little space, so they feel comfortable with your presence and stay put for the picture.
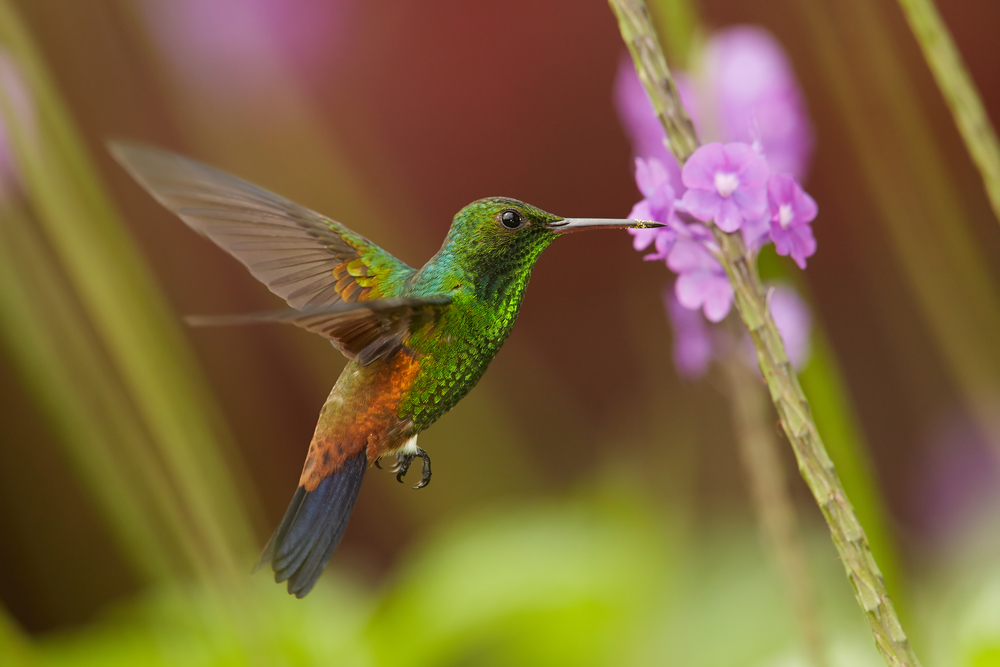
Many birds fly within a distance of 50 to 100 feet of humans. So, when taking flight photos, try for a close-up shot to capture the bird’s colour, body and plumage details.
The rule of thirds
Organize your shots with an imaginary grid that divides the frame into three equal parts horizontally and vertically. Put the horizon in one of those intersections, or include an interesting tree branch or rock formation off-centre in the frame. Avoid filling up the entire frame with your subject; it will look distracting in the picture.
Water
Birds look for water, lots of it. Give them a reason to land in a body of water, and you’ll have great photos. Setting up for a day of bird photography near a river or lake would be ideal. Also, if you can find an area with fresh marshland or sand pockets, these can work well too.
Anatomy
A professional photographer named John Kessler (known for wildlife photography in exotic locales all over the globe, like Afghanistan and Mozambique) recommends using a fast shutter speed and focusing on the bird’s head and eyes. This will ensure you get the sharpest image possible without the bird looking startled or injured in the shot. Flight photography, which focuses on the bird’s wings, is fine too, but only with a high shutter speed.
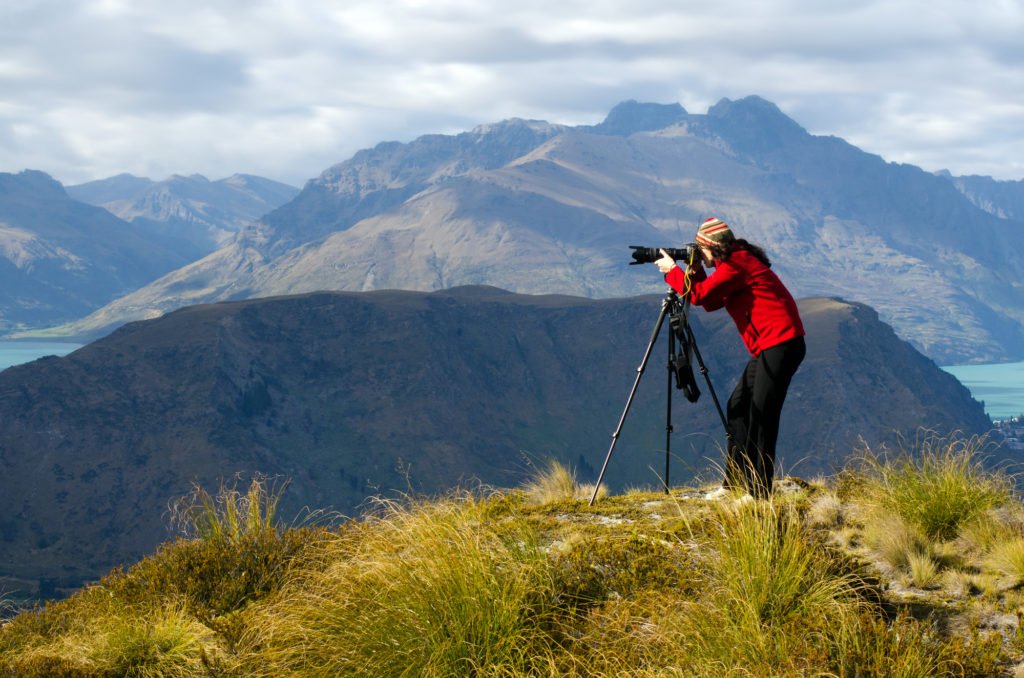
The equipment
Kessler suggests using a telephoto lens for bird photography and recommends something in the 400 to 500mm range. Check our detailed information and roundup of the best wildlife photography lenses, including lenses from 150mm-600mm.
I also recommend carrying a lightweight tripod made for travel and/or on-the-go bird photographers. There’s a technique to this that can help you reduce motion blur and capture clear images. Check our article about how to set up a tripod for photography for more info on this.
Camera settings
The next most important thing is your aperture — think of it as the amount of light coming through the lens. Different lighting conditions require different settings. Use a wide aperture opening like f/2.8 or f/4 for daytime shots with lots of natural light, and remember to switch to a smaller number like f/5.6 or f/8 in low-light situations since higher numbers mean less light.
A wide aperture means less light is getting through at any one time. If you’re trying to take a close-up shot of a bird flying towards you, your camera may accidentally go into the ‘bulb’ setting rather than remaining on aperture priority mode. In these situations, Kessler recommends using your camera’s exposure compensation button to fix the problem.
Also, keep your ISO set at 100 or 200, a low setting that will enable you to get a clear picture without having to use flash. You can also try using the auto iso feature if possible. For more information, check our top tips on how to shoot wildlife photography which covers camera settings in more detail.
Monopod
If you’re trying to take a picture of a bird at a high perch, you’ll need something that will allow you to steady your camera. A monopod can help with this task and is available in many different lengths, from six inches up to 18 feet and in various colours. “I like to use the ones that are collapsable,” Kessler says. “That way, when I’m done taking pictures, I can collapse the legs for storage. It also makes it very easy to carry around.”
The flash
It’s up to you whether or not you want to use this setting, but Kessler says the one thing he wouldn’t recommend is leaving your flash on automatic.
“Make sure that your flash is off and make sure it’s set to ‘Enable’ or ‘Force’ if you have the camera set up for that,” he says. “If it’s just on automatic, you’re getting all kinds of different settings, depending on what kind of light you’re in. With a flash, you can mix in ambient light and create that perfect picture.”
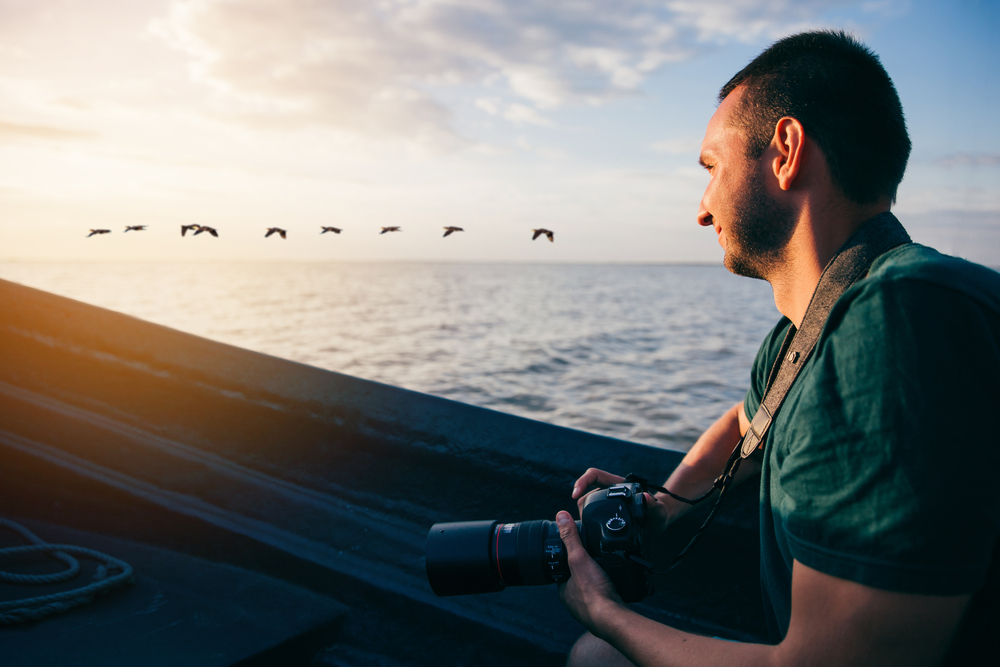
The flight shot
Always use fast shutter speeds of 1/500th of a second or higher to get the best shot photographing birds in flight. I’ve seen many people shooting with f/5.6 and want to catch the tail as the bird flies. A lot of times, they’re missing because they’re not giving themselves enough time.
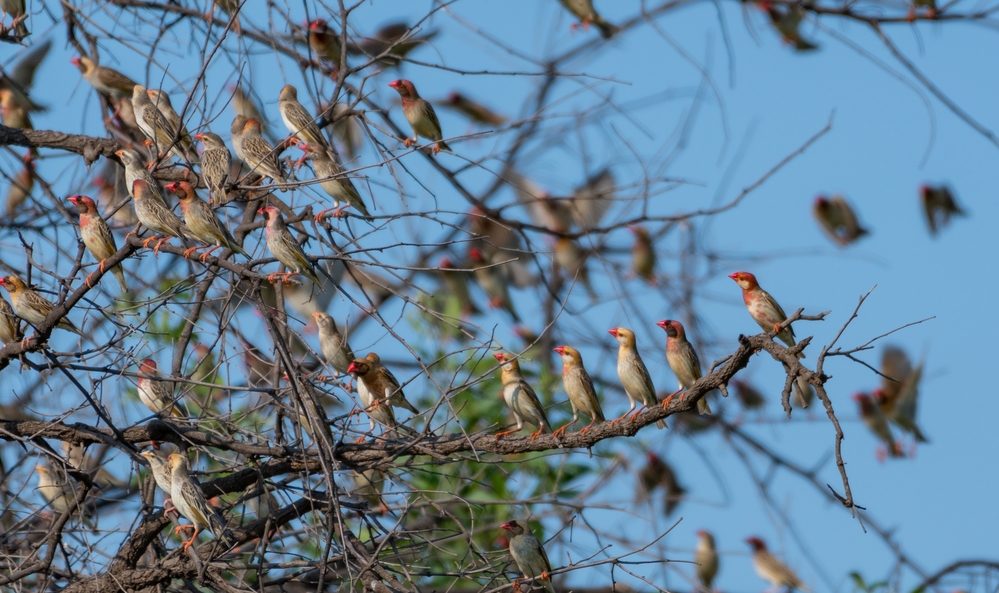
A flock
If you’re really trying to get dramatic bird pictures, try lining up five or six together on one perch or branch. That way they’ll be able to blend together and create a really beautiful image. Also, if you know of some common birds and their flight path, you can shoot some excellent pictures.
Summary
I started photographing birds in flight long after I took up nature and wildlife photography, but it wasn’t long before I had a huge selection of professional-looking bird images in my portfolio.
Birds are a popular subject for photographers, but many people feel intimidated by their complex behaviour and a huge variety of species. But it doesn’t have to be complicated. Follow the outlined bird photography tips – with a little research, the right equipment and some patience, you can take great bird photos!
Additional Resources
Sources and References
- Bird Photography: 10 Tips for Beautiful Images – digital-photography-school.com
Sam loves to learn about animals and their habitats. He has been a nature lover from a very young age, and has been writing papers and articles about wildlife for as long as he can remember.