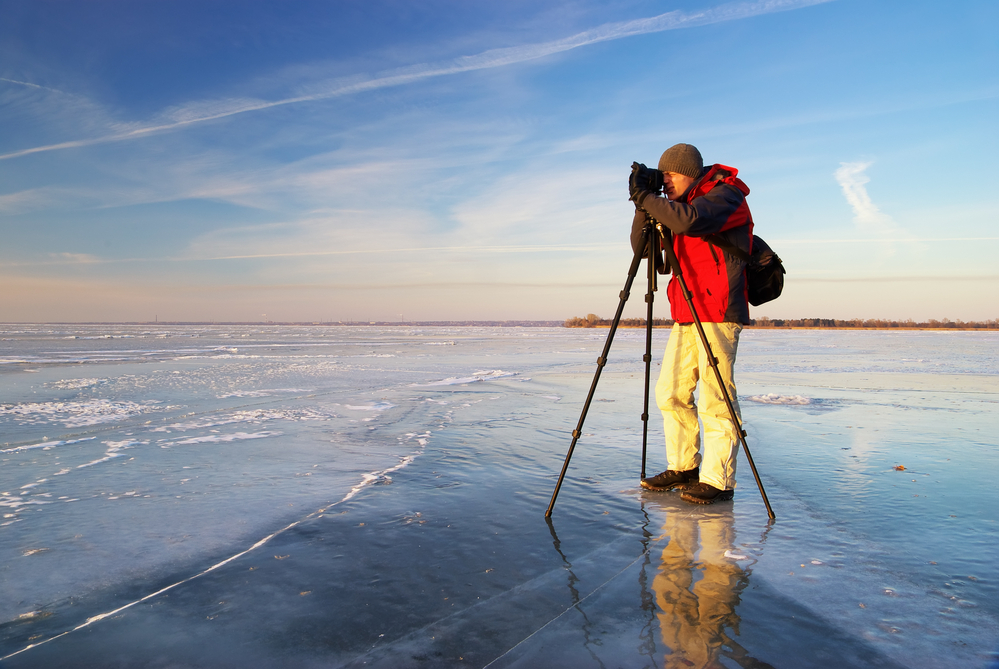
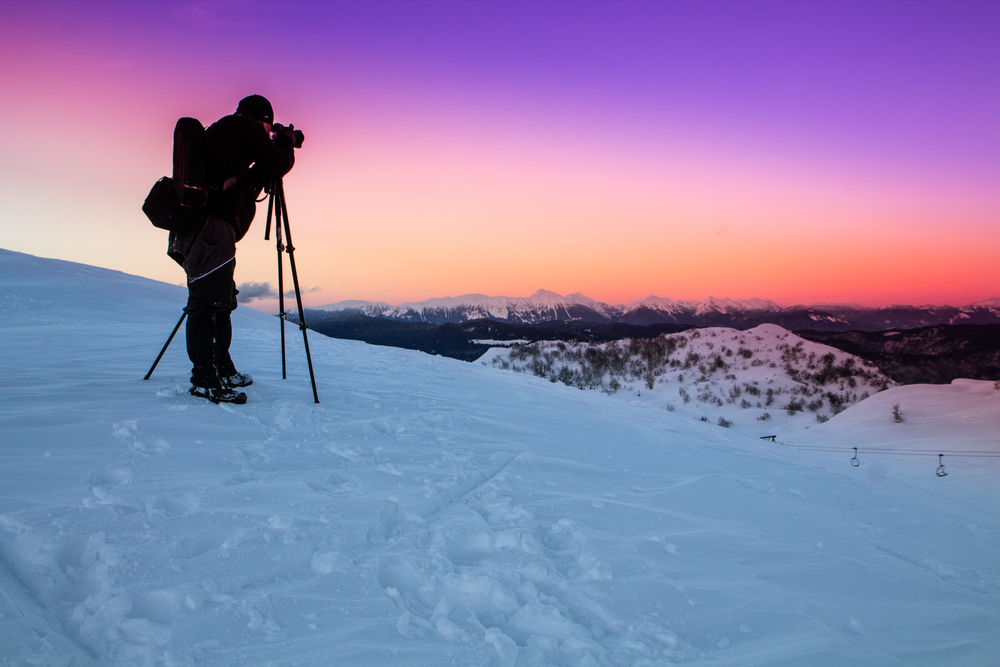
Hopefully, you already know that a tripod is a portable three-legged stand that can be used with a camera or other heavy apparatus. The tripod reduces camera shake and provides stability and balance to large cameras, or those with long lenses, preventing them from falling over. You can also use it to keep the camera steady when panning, tilting, and zooming.
A tripod is an essential feature in many settings, such as weddings and shooting landscapes. For example, in order to take sharp photos of rivers when the water is running fast, a good tripod will give you much more control over your composition than hand-holding your camera ever could.
Not all tripods come with setup instructions or tips. In this article, we’ll cover the essential tripod-use basics and tips on how to get the best photos by having a stable setup.
Further Reading: What Is a Tripod and When Should It Be Used?
How To Use a Tripod: Step by Step
Before using your new tripod, you need to know how to set it up and dismantle it. To do this, you have to follow these steps:
- Make sure the tripod is on a flat surface and not somewhere where it might be knocked over.
- Loosen the locking screw at the top of each leg with your hand.
- Extend and adjust the height of the tripod legs, as required, by turning the screw that is located in each of the lower leg sections.
- Secure each leg by tightening the locking screw and make sure all the legs are locked in firmly.
- If you have a spirit level, place it on the tripod head to get the perfect setup. Perhaps invest in a purpose-built bubble level for tripods if you don’t have one.
- Point one of the legs facing forwards, allowing you to stand between the two hind legs. This will prevent trips and ensure better stability, especially when using a heavy lens.
- Attach your camera onto the mounting plate, then tighten everything up, so that your camera is secure in position. If you’re using a heavy zoom lens, make sure to use the tripod collar for extra support. Also, make sure the base plate is tight and locked in.
- Next, you need to learn how to adjust a ball head. Loosen all the locking screws on the head by turning them with your fingers (do not unscrew them completely). Adjust the camera and then tighten them back up.
- For pan and tilt, loosen the locking screw at the bottom of the head so that you can move it freely on its mount. Once adjusted, tighten back up.
- That’s it. Your tripod and camera are now ready to start shooting.
- To dismantle your tripod and pack it away, reverse these steps: First, loosen all three legs from their locks and fold them into place. Then lift the centre post if there is one and pull it up until the camera plate is removed from the top of your camera body. Slide the leg locks back until they are open, then slide the legs out of their slots.
Some Tips On Using a Tripod
Now you know the basics of how to use a tripod for photography, let’s cover some insider tips to improve your skills.
Choose the right tripod
First and foremost, make sure you have the right type of tripod for your photographing needs. There are many different types, each with its own purpose. The main features to consider when choosing a tripod are the weight it can hold and how portable it is. Tripod legs can be made out of wood, steel or aluminium and can be fixed or extendable. If your camera is too heavy for the tripod or you’re too tall for a fixed type design, you’ll face difficulties and struggle to get the best out of your tripod.
In addition to the type of material, you will have to choose between a fixed-height tripod or one with adjustable legs. Fixed-height tripods can be ideal if you want a stable platform that saves space and is easy to set up and take apart; however, they are not ideal if you need to shoot at unusual angles. On the other hand, adjustable legs allow you to shoot at different heights, but they can be hard to store because they take up more space than fixed-height tripods.
Add extra weight
Everybody would love to carry a lightweight tripod in their kit, but the problem is that the more weighed down it is to the ground, the better the stability. So, when using a tripod, I’ve seen many photographers hang their camera bag from the centre post, which adds weight and stability to the tripod without the need to carry additional weights in their kit.
Using a timer or cable release
Don’t forget to set your camera on a timer. This eliminates the contact between you and the camera, thus reducing unnecessary shakes. A tripod will not help if you cannot keep the camera still yourself. Use your camera’s self-timer or press the button on your remote control instead.
Opening the shutter
Before putting your camera on a tripod, make sure that its shutter is fully open and fully released. Otherwise, the tripod will move around as the shutter closes and then opens again—and your setup could become misaligned. If a tripod isn’t moving, this won’t happen.
Storing it
After removing the tripod from the ground, or its legs from their slots, store it away vertically in its case; don’t put it on the floor or anywhere where it could be knocked over. It won’t be long before the tripod head will be rendered useless if it’s laid down horizontally. Also, sometimes the legs can be stiff after being extended and locked into place for a long time, so be gentle but firm when retracting them.
Prepare in advance
Don’t forget to set up your tripod in advance to avoid disturbing wildlife. Getting ready beforehand and waiting patiently can reap the rewards of catching shy birds and other animals that may be disturbed by your movements.
Also, try to adjust the camera settings before placing it on the tripod. This includes things like turning off image stabilisation and setting the shutter speed.
Keep it clean
Keep your hands and the tripod clean, as dirt and grease will accumulate under your fingers and gradually build up on the tripod’s adjustable parts. This can make it especially difficult to adjust the legs and tripod head over long periods.
The centre column
Most tripods also have a centre column that can extend upwards to support the camera further. However, this will make it harder to transport and reduce the weight distribution as the column is a single point of connection versus three. Some professional photographers prefer to readjust the legs rather than extend the centre column if possible.
Summary
Although tripod uses can range from videography to almost anything else in the optic field, essentially, it’s a very useful piece of equipment for both amateur and professional photographers.
If you’re hoping to get the best picture quality, you cant rely on holding your camera while shooting; you’ll undoubtedly need a tripod. It allows you to take photos using slower shutter speeds; it enables you to compose shots more accurately and shoot from different angles. It can make wildlife photography much easier because it keeps the camera steady.
However, as you’ve seen in this article, using a tripod has many variables to get it right. Follow the steps outlined above, and you should be fine.
Additional Resources
Sources and References
- Using a Tripod To Get The Best Pictures – lifewire.com
Sam loves to learn about animals and their habitats. He has been a nature lover from a very young age, and has been writing papers and articles about wildlife for as long as he can remember.