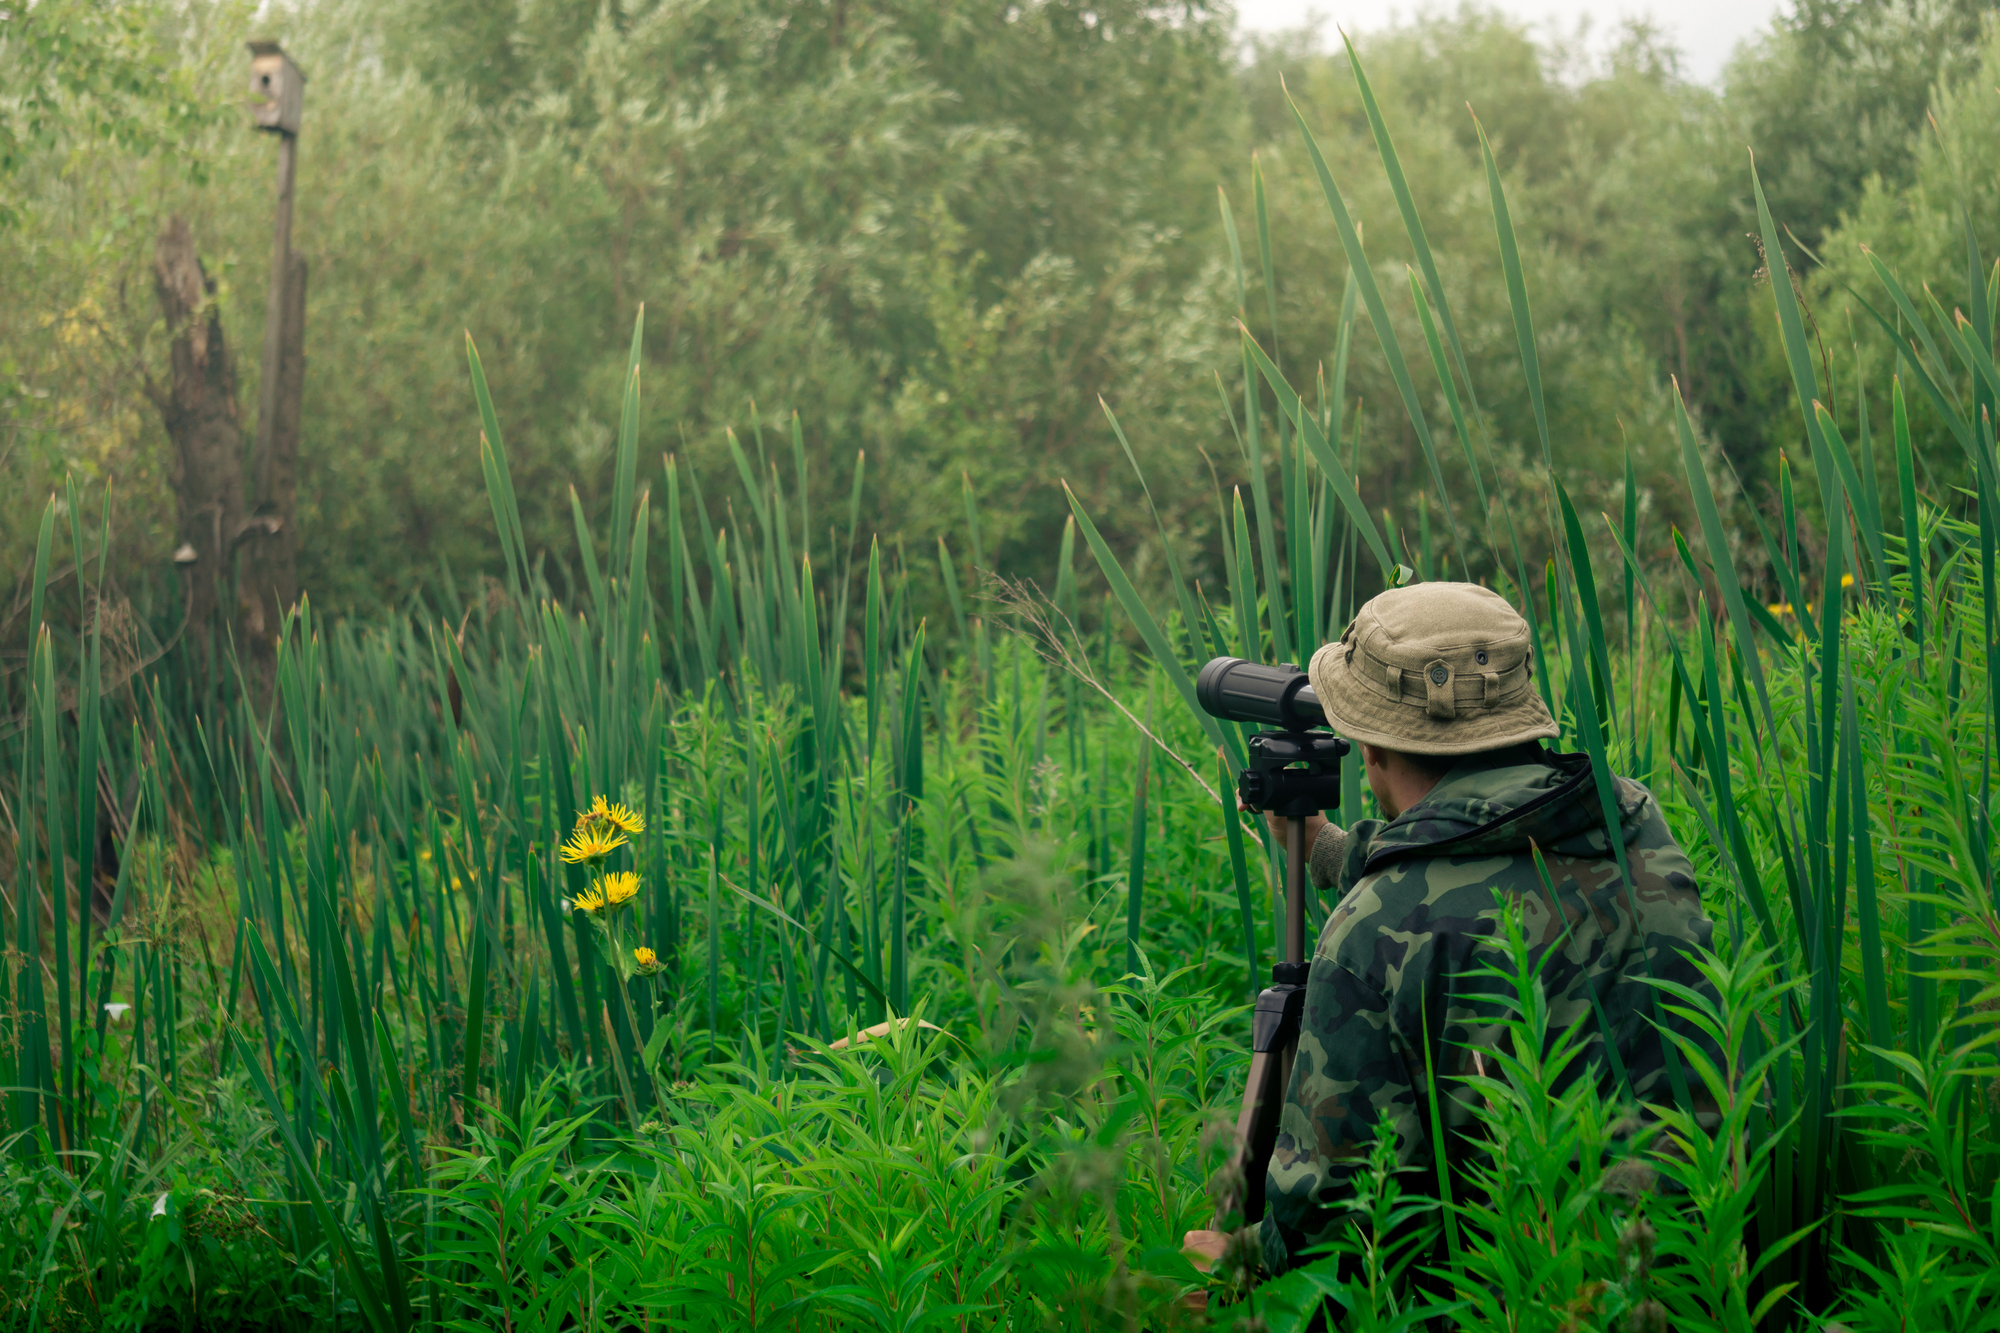
One of the most common scopes used in bird watching is binoculars, but they are not as powerful as spotting scopes. A spotting scope’s role can play a very powerful part that shows bird watchers, photographers and hunters what they cannot see with their eyes alone. These very convenient accessories come in many different sizes, shapes and specifications and have become more prevalent over time because of their great functionality.
The most important factor about using a bird watching spotting scope is to know how to use it, as they are very different to using binoculars. They can help photographers with taking pictures, and hunters make the final words count before using the trigger finger.
Make sure that you have the right type of spotting scope for the right environment, too, since there are many different types available.
Whether you have an angled scope, one with an objective lens or straight scope, the difference in these instructions is minimal. So if you want to use a spotting scope that will work perfectly with your camera, below you’ll find our step by step guide about everything you need to know on how to use one:
How To Use A Spotting Scope For Bird Watching and Picture Taking
Aperture
Set your aperture on your camera lens first while it is still on the tripod. Then turn off your camera’s auto-exposure setting before using it with your spotting scope to obtain more light.
Filters
The majority of spotting scopes have eyepiece filters that can adjust to the focal lengths of your camera. They are also known as black and white filters. Choose the appropriate filter size that suits your film or digital camera.
Mounting and Adapters
Some scopes may have a mounting bracket or adapter rings to allow for a camera to snap on. Some even allow for a universal phone, while other adapters might be more specific. Whether you have a DSLR or some other type of compact camera, you should be able to use a spotting scope effectively with the right adapter.
Using a Tripod
For best results, take your photos with as little movement as possible, as it will give you the best output and quality.
Whether you’re using a spotting scope or a set of high-end monoculars, use a tripod to ensure more stability and the best image quality. Adjust the tilt and pan locks accordingly, and on newer tripods use the handle locking mechanism if it allows you to.
Adjust Settings
Set up your camera settings to best fit your spotter’s scope, such as aperture and ISO setting, film speed, shutter speed and exposure blending mode. This may seem lengthy and tedious on some occasions, but once you have played around with your new scope a few times, finding the best settings will soon become second nature.
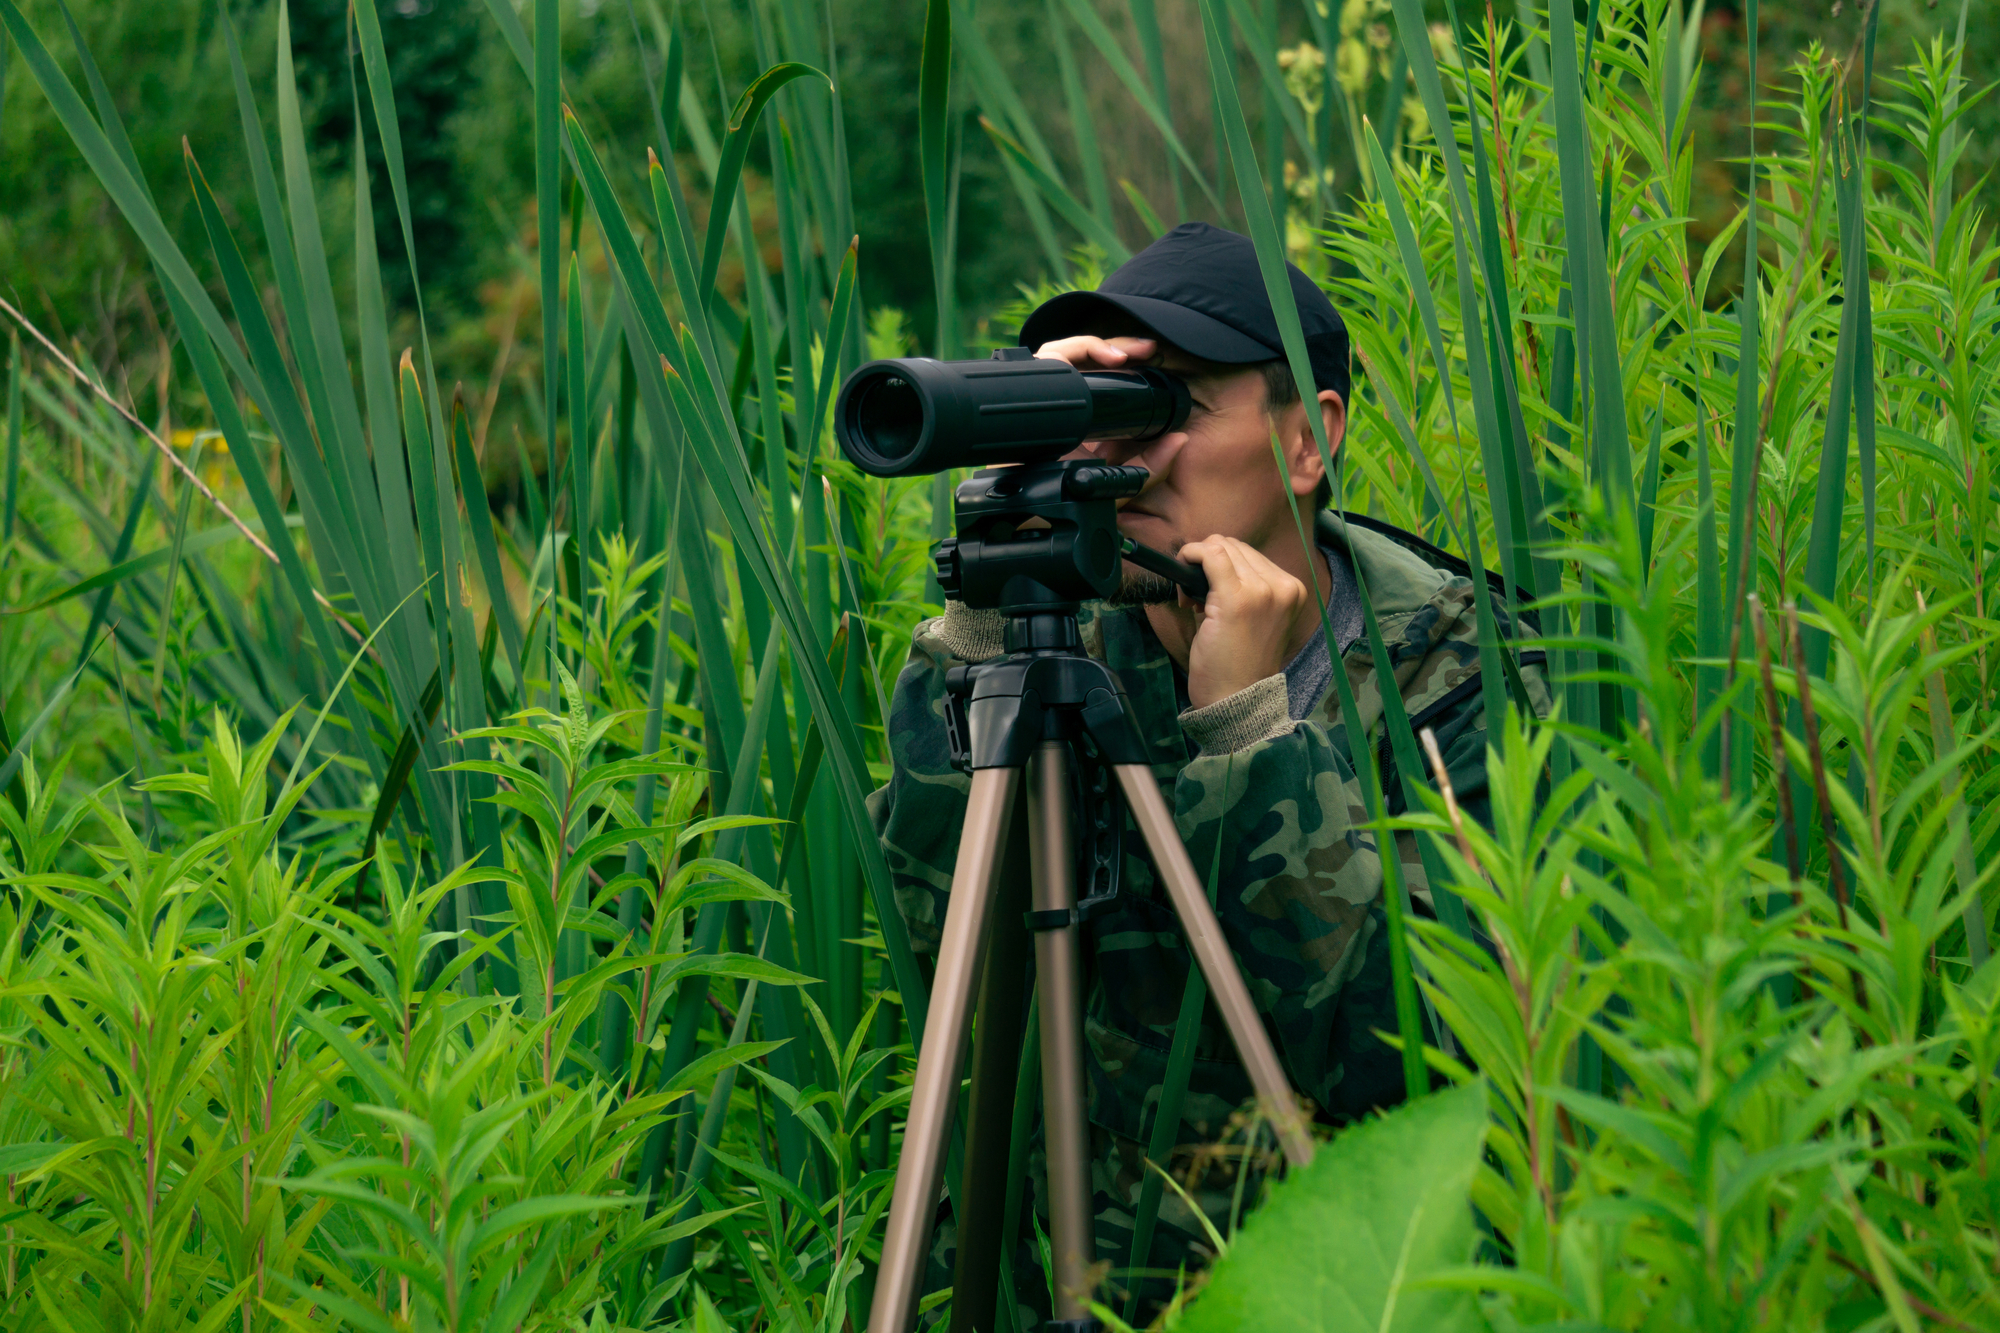
Finding The Clear Image
After setting up all these settings properly, focus on the specific desired view and wildlife you want to capture. Focus controls are very important when using a spotting scope to get high-quality images since it often takes some time and effort to get in focus with these devices. Start with the lowest magnification until the image appears in clear detail.
Ensuring Eye Relief
Now it is very important to keep in mind that there are two ways of looking through a spotting scope. One of these ways is for the convenience of people not wearing glasses; the other is by focusing on an object or birds within the scope manually. If you wear glasses, you should fold or twist the eyecups on the scope until you have enough eye relief.
The latter thing you do by moving the eyepiece closer to your eye; this may be a bit uncomfortable when you first start using a spotting scope but if you really want to make sure you have a wide field of view, then practice this focusing mechanism.
Learn what it feels like to have the eyepiece touching your eye, and you will soon be able to make sure that you are in focus very quickly indeed.
Take The Picture
Once you have focused and set up your camera’s settings properly, shoot your photo when you see a clear image that you want to capture. This is when using the right spotting scope becomes extremely handy since it allows photographers to capture images of birds and animals at long distances that cannot be seen with the naked eye or binoculars.
Check The Picture
Check your photo after you take it by looking at an image preview of it. If you notice more areas of interest where you can capture more images, use the zoom ring for a low magnification to focus on those areas.
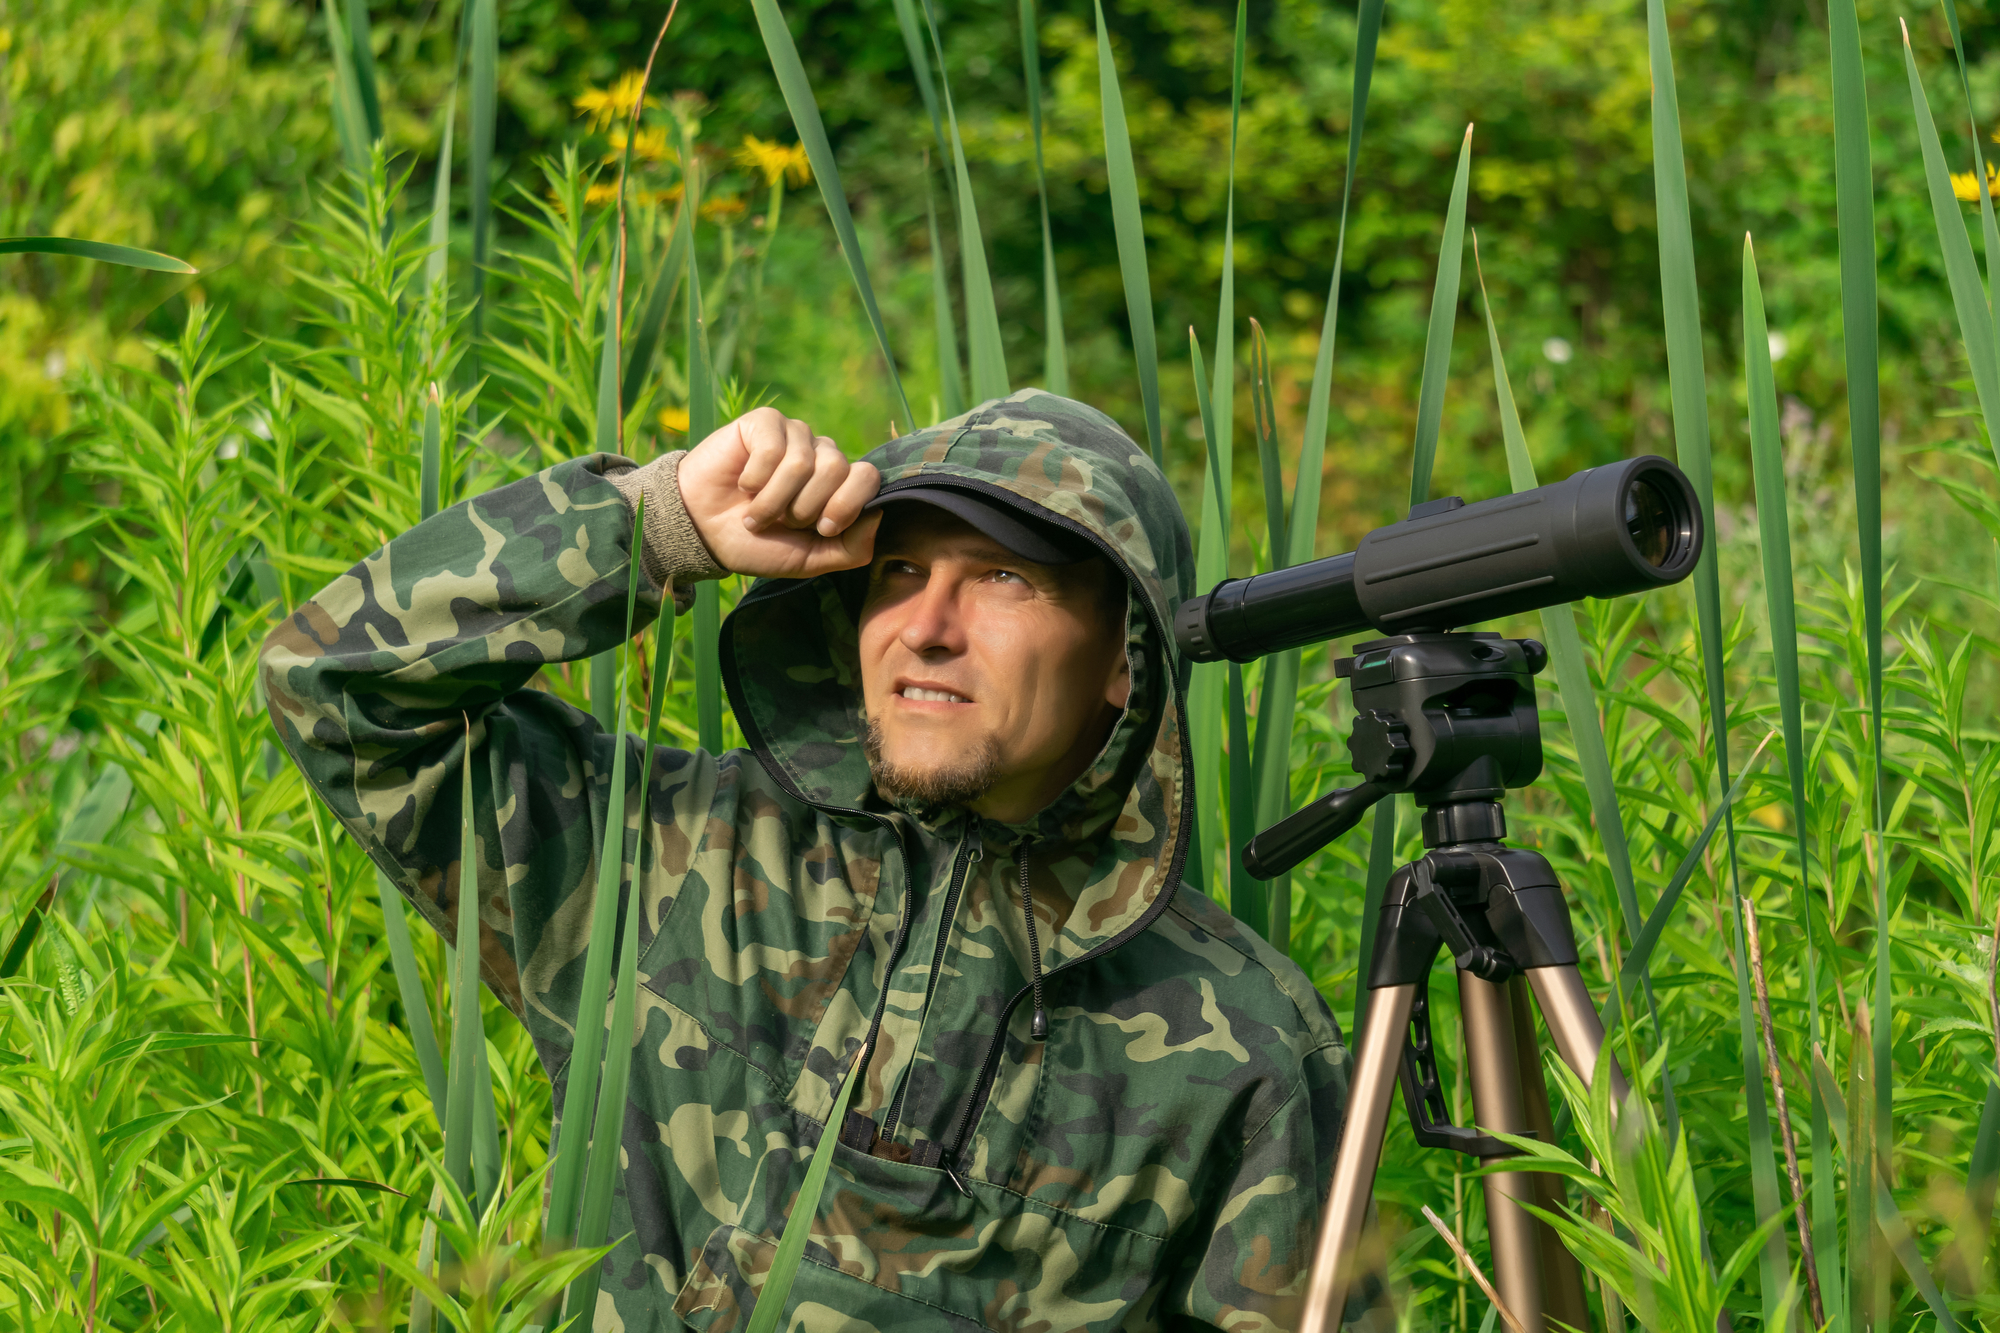
Beat The Fatigue
When you are first starting out, it is very easy for your eyesight to get tired quickly; if this happens, stop using the spotting scope and take a break for about 10 minutes before trying again. Do not try to fight this queasiness or eye fatigue; the chances are that your body and mind need some time to adjust. As with most things in life, it is a matter of practice and experience.
Hunting and Spotter Scopes
If you wish to become a good bird watcher, there are a few tips that you need to know; one of these is how to best use a hunting spotting scope or a set of good binoculars to get better birds-in-sight results.
The other thing that you need to keep in mind is how to properly make use of your binoculars or spotting scopes when it comes to hunting different types of birds. Most of the time, if it is a specific type of bird that you are trying to find, then knowing the exact species that you are looking for will greatly help your cause.
It can be said that getting to know your prey can be one of the most important keys to giving many hunters an edge when it comes to spotting scope hunting – it all depends on whether or not you have taken the time to study.
You can do several things to help you gain a better understanding of your prey.
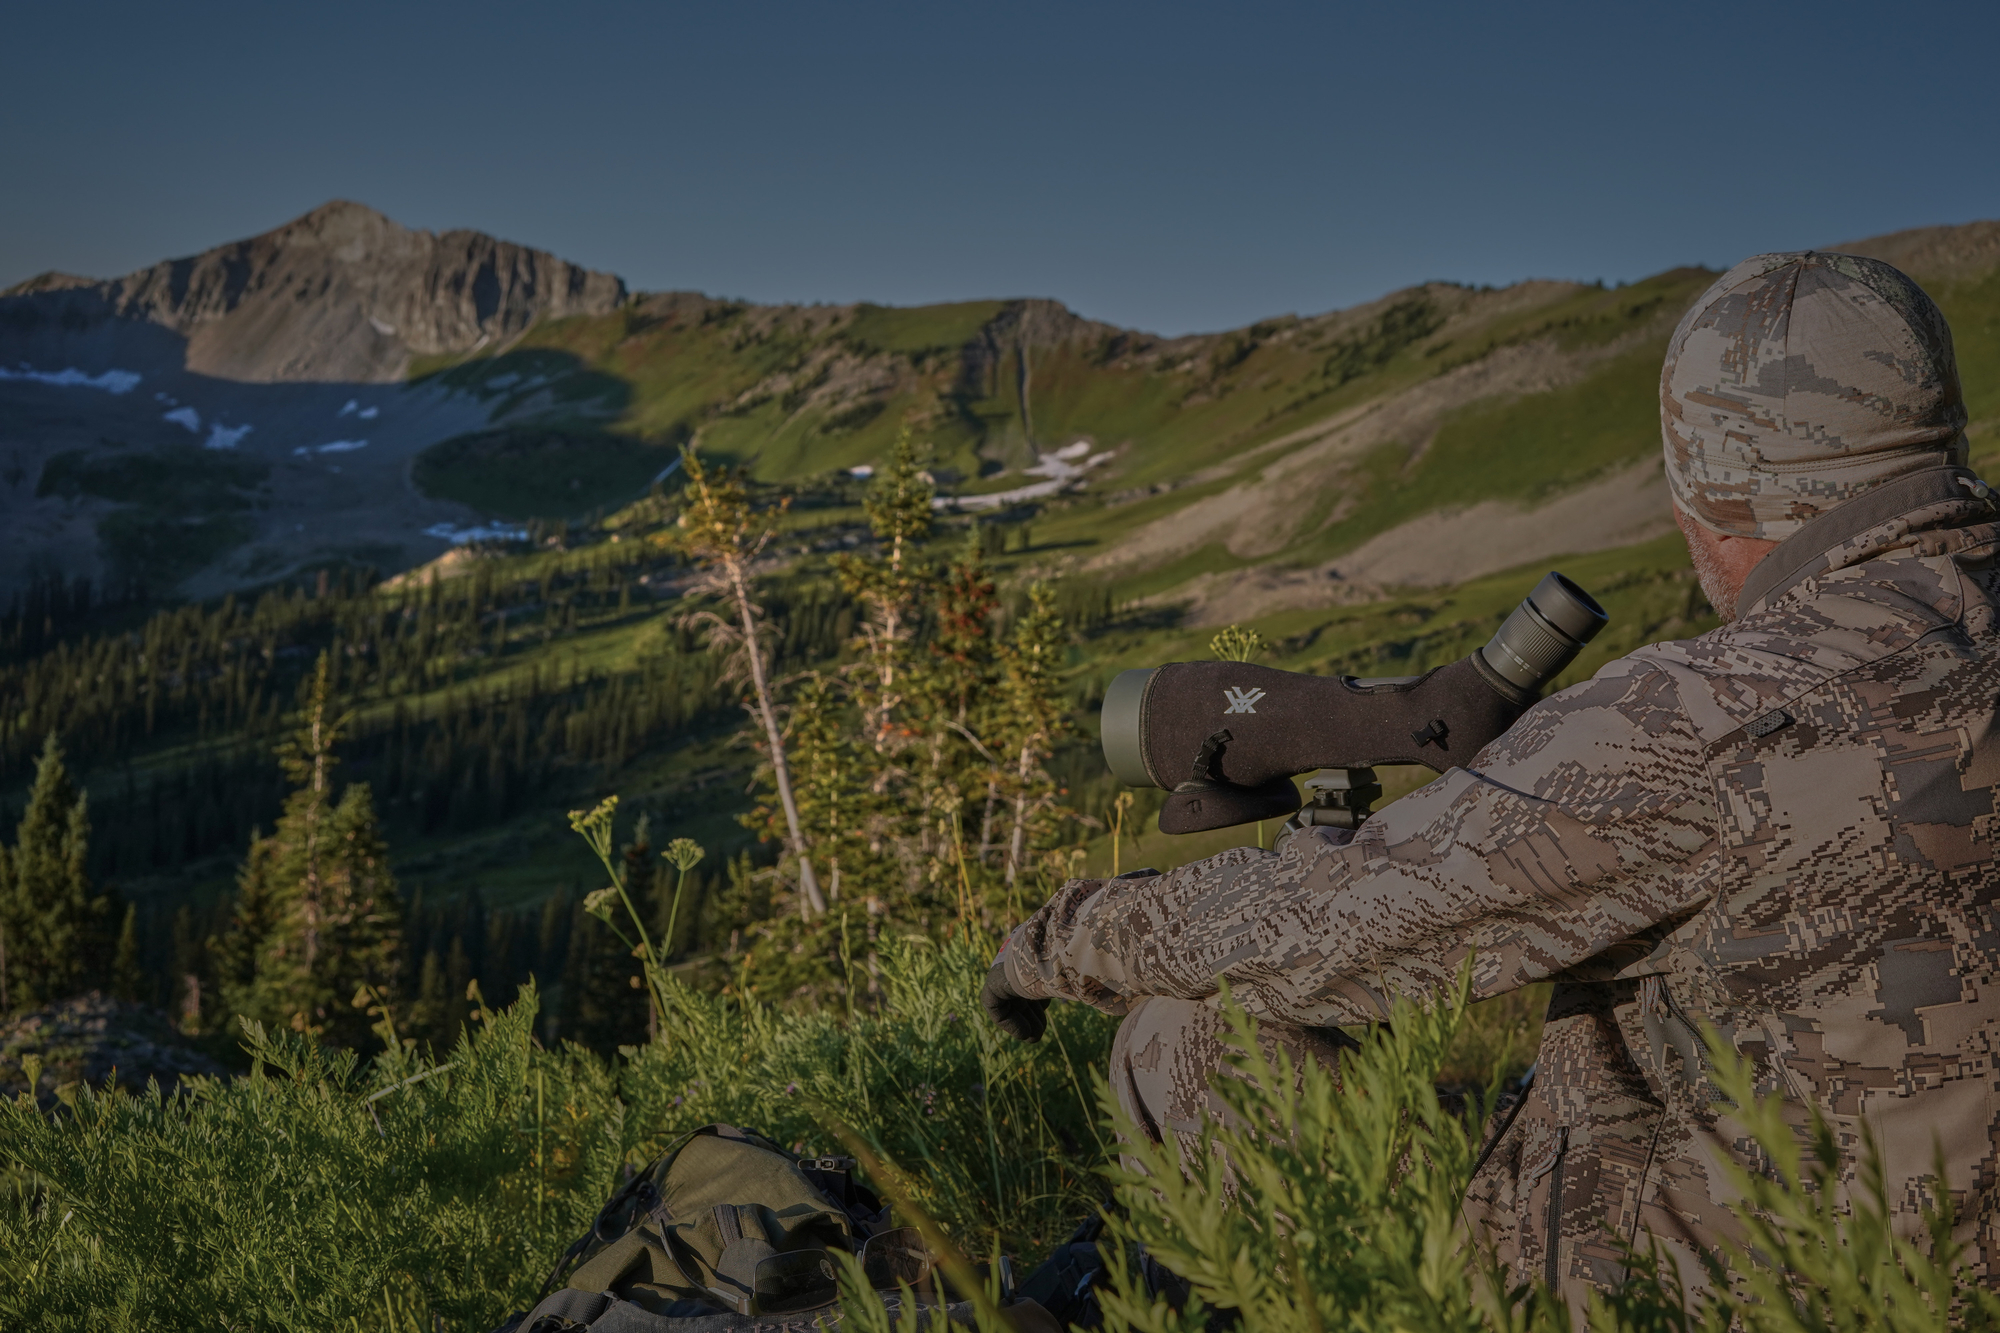
For example, an excellent place to start is by using spotting scopes to look at the birds’ habitat. While this may seem pretty obvious, it is important because most of the time, these animals will not just be standing out in plain view waiting for you to come along and take notice of them.
Instead, they are going to be hiding among the trees and bushes, along with the grasses and other vegetation that surround them; this type of environment is something that if you pay attention to then will help most hunters locate many of the species commonly found in that area.
Another thing that you can do is to look for the nests; this is especially important if it is a species that commonly lays eggs. Since many of these nests are not going to be too hard to spot, then you will want to be able to identify them with ease.
However, the knowledge of how the nest looks does not just come from seeing the nest itself; over time you will start being able to identify all of the places where certain species tend to nest, and when you find one, you can then use your device to get a better look at what type of bird it is and what it is doing.
Conclusion
With the help of our generic instructions and spotting scope guide hopefully, you now know how to use a spotting scope effectively.
While spotting scopes are not for everyone, it does seem to be a nice bonus tool for many people that would like to get better results from their hobby, especially if you study the spotting scopes user manual for best results.
Also, although buying anything is usually down to budget or personal preferences, try to buy the most feature-packed and best spotting scope within your budget. You’ll be amazed at the difference in quality. For example, better devices have more magnification power range than others, while other options may include better or more camera adapters.
Additional Resources
- What Is the Best Magnification for Bird Watching Binoculars? A Short Guide for Enthusiasts
- How to Shoot Wildlife Photography: Short, Simple, and Clear
Sources and References
- What Optics Magnification Best Suits Your Hunting Style – vanguardworld.com
Sam loves to learn about animals and their habitats. He has been a nature lover from a very young age, and has been writing papers and articles about wildlife for as long as he can remember.