If you love watching birds up close yet through the safety of a glass window, we have a fun DIY project to accomplish this outcome.
A window bird feeder is an easy way to attract a wide variety of feathery friends to your backyard and enjoy watching them through the comfort of your bedroom or kitchen window.
It’s easy to make a homemade window bird feeder that is both attractive and functional. There are many different ways you can make one and lots of different types of materials that you can use.
Shoebox Window Bird Feeder
The key ingredients for a perfect DIY window bird feeder are:
- a shoebox
- screws or nails
- wire or string attachment
Step 1
The average window is about 18 inches wide. You can make a feeder that is less than 4 inches deep, but it will be too shallow to hold as much birdseed. The other option is to go with a feeder that holds more seed but leaves less room for feeding birds to perch around it in public view.
Depending on your window frame spacing and size, create a platform with three or more crossbars (from the back side), washers, bolts, or screws. The crossbars should extend from front to back at least 3 inches apart.
You can hang a window feeder on the frame or the wall, or you can attach it directly to a piece of wood with a screw or nail. If you’d like a feeder that’s completely removable, use a shoebox and screw or nail on the front and back sides.
This type of box is ideal as it’s cheap and can easily be replaced if the shoebox becomes damaged.
Step 2
Attach a hook or wire to the back and hang the feeder from the window. If you are using a shoebox, you can attach a plastic loop that will hold the feeder in place. You can also use cardboard or wood, depending on what you have access to and how many holes your hook can fit through. Once attached, wipe down the inside with a damp cloth to clean off leftover birdseed and dirt before putting in new seed.
Top Tips
Make sure the window feeder has a flat surface on top where our feathered friends can land and take off. This will reduce the chance of broken wings or hardened leg tips during landing and take-off.
To help attract birds, try using sunflower seeds as they are larger than other seeds and are easier for birds to hold onto while they eat. For more information, you can also check our 16 top tips on attracting birds to a window feeder by clicking here.
Food-wise, use birdseed, some delicious homemade suet cake, nuts, or peanuts. You can also use oils or sugar water. Do not use corn or meal for birds that can be easily choked on.
Mesh and Wood Bird Feeder
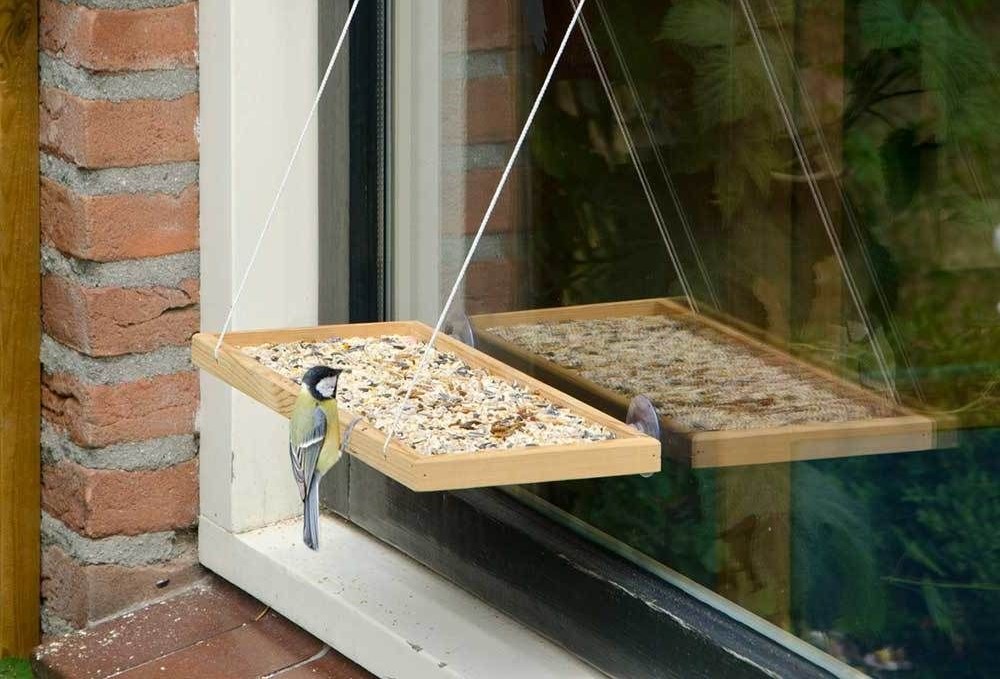
Materials needed to make a homemade bird feeder mesh and wood:
- scrap wood (for attaching to your window)
- drill or hammer and nails/screws (to hang the wood on your window)
- food container with a lid or wire mesh attached to the top to allow birds access but keep out pests.
- screws/nails (for attaching the food container to your window)
- paint (optional)
Step 1
Since birds are different sizes, you will want to measure the feeder’s length and width and add about one inch on each side of that measurement. For example, if you have a 4×5 inch space, you can make your feeder anywhere from 4×6-5×6 inches.
You can use any type of wood to make your birdfeeder as long as it is sturdy enough to hold the weight of the seeds and water. Since wood is a natural material, it can often be stained to match the colour you are looking for, and it will easily hold a lot of bird feed or suet. You can stain your timber with spray paint using the colour you want, and if you choose, you can paint your feeder to match any other window in your house.
Step 2
The wire mesh was cut to fit over the window and nailed to the frame. The lid was then attached with a screw through the middle hole of each corner into the wire mesh. I attached a cup to the top of the wire mesh, cut in half so that there is a hole for the birds to drink from at the same time. I used glue to attach this piece because it will not be secure if you don’t.
Step 3
Once all your wood was stained and dried, I used a couple of screws through each corner into the wood and into the frame of my window. It’s a great idea drill holes first for the screws to enter easily in case it splits.
Of course, you may choose to place your feeder higher on your window so that there is extra room for the birds to perch and land.
Top Tips
I decided to add a couple of cup hooks that hang down over the wire mesh so you can store your birdseed or suet inside instead of using a regular lid. Now I just fill the feeder with food and hang it in place.
Also, make sure it gets hung high enough that squirrels and neighbourhood cats can’t reach it by jumping. Bird feeders are also known to attract vermin, so make sure you check our post on how to stop rats eating bird food.
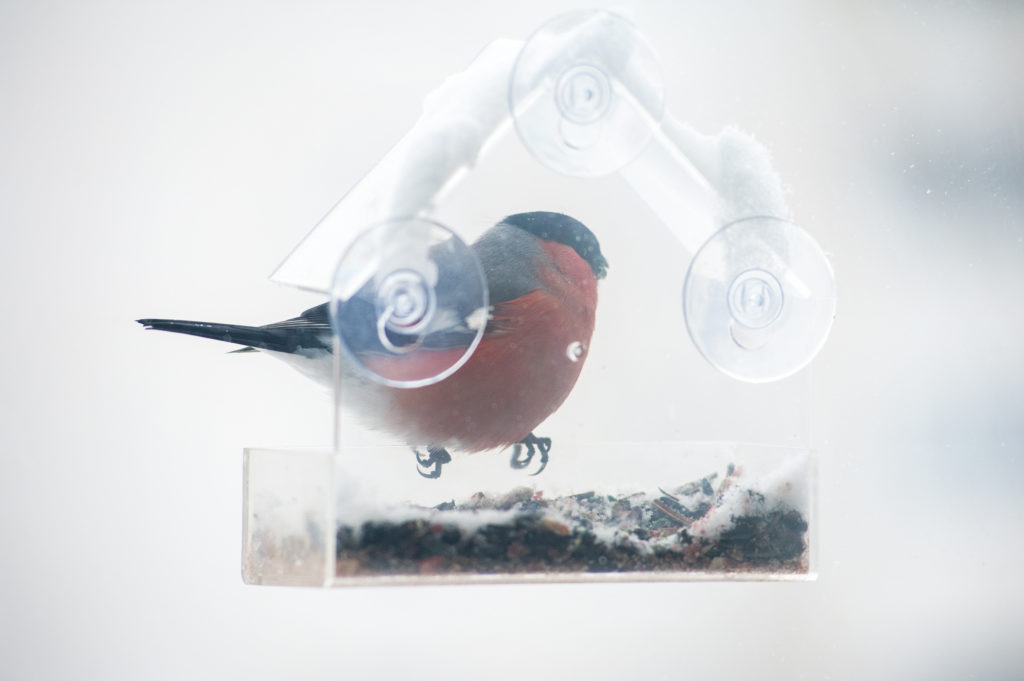
Plastic Jug Window Bird Feeder

This acrylic bird feeder is simple, and it’s best made out of a large plastic jug. It’s cheap, quick and features easy cleaning for repeated use over the years. Here’s what you’ll need:
- a large jug
- sharp knife
- cloth/screen (optional)
- suction cups (optional)
Step 1
Measure your window opening and add a little extra space around the opening just to be safe. I added 1/2″ to ensure the bird feeder would fit on my windows and would not break or fall out as the birds pivoted on the windows.
Step 2
Cut your jug into a rectangle that is as wide and tall as the window opening between the sash. You will have extra plastic, but you can use it to line other openings around your house or use it in your garden beds; just be sure it is not touching any plants because it will stay in place until the sun hits it and then it might melt!
Step 3
Cut a notch at one end so you can feed your bird seed through. I used a very sharp kitchen knife for this step. You want to use something with a nice sharp blade, so you don’t destroy the jug or make a huge jagged edge.
Step 4
If you have access to suction cups, you could place one on either side of the cut jug. Then use the suction cups to securely attach the bird feeder to your window.
Step 5
Fill your newly made acrylic bird feeder with food and stick it into the opening of your window. I used mine as a peanut feeder, so that’s what I filled them with. Other popular food options for window feeders that birds surely love to eat are mealworms, nuts, bird seed and suet.
This is my favourite part! They are so simple to make, easy to clean and do not leave any kind of mess on the sill or in the corners, unlike most other kinds of window bird feeders.
You can even use them for suet cakes and suet blocks. Just pull out the suet cake once it’s been eaten and replace it with more food or something else you have around, like small seed or suet balls or something else.
Top Tips
The jugs I used are a bit thick for my window, so I found some very thin ones at my local store, and they fit great! Be sure to get something that is a light colour so you don’t have to worry about them melting in the sun too much.
I put some screens over my window to stop any bugs from getting in. I used an old piece of screen from an old closet. You could just use regular screen, but I like this better because it’s already stiff and can be used to block out bugs and you can still see through it if you need to. It’s just a thin piece, but it works great.
Additionally, a piece of paper towel or muslin might work if you only have a couple of inches to work with.
The Final Word
Although bird feeders look great hanging from a tree, there’s something special about watching beautiful birds flying up close when they visit your garden. And what better way to achieve this than by making a homemade bird feeder?
Also, whether you’re a parent or a school teacher, a DIY window bird feeder is a fun way to get kids involved in crafts and nature. My kids love watching cute little birds in the backyard, and birds love food, so we tried and tested all of the above and have had many feathered friends visit daily.
No more need for distant bird baths far out in your yard or expensive feeders hanging from trees. Now you know how to make a window bird feeder, have a look around your home to see what you have in store for your next project. Once done, sit back, watch and enjoy!
Additional Resources
Sources and References
- 12 Homemade Bird Feeder Ideas To Inspire Your Next DIY Project – housebeautiful.com
Sam loves to learn about animals and their habitats. He has been a nature lover from a very young age, and has been writing papers and articles about wildlife for as long as he can remember.