If you are interested in night vision, then you know that the term covers a wide range of optics.
Numbering among these is the night vision monocular, which is a very small optic that uses night vision technology (infrared light) for extended vision during low light conditions.
These devices are great news for hunters because with the right tools and proper mounting attachments, they can be attached to a rifle scope or other device.
In this article, I will help you learn how to attach a night vision monocular to a scope or rifle for some awesome nighttime shooting fun!
Why Use Night Vision Monoculars With Scopes?
A night vision monocular (NVM) is a specially designed device with one eyepiece that creates an image using an infrared capturing system. With the proper attachment and 5 minutes of your time, you can easily transform regular rifle scopes into a night vision scope.
The object of using a night vision device is to pick up light that is not available to the naked eye. So, even on a cloudy or moonless night, you should have some success with your night shooting.
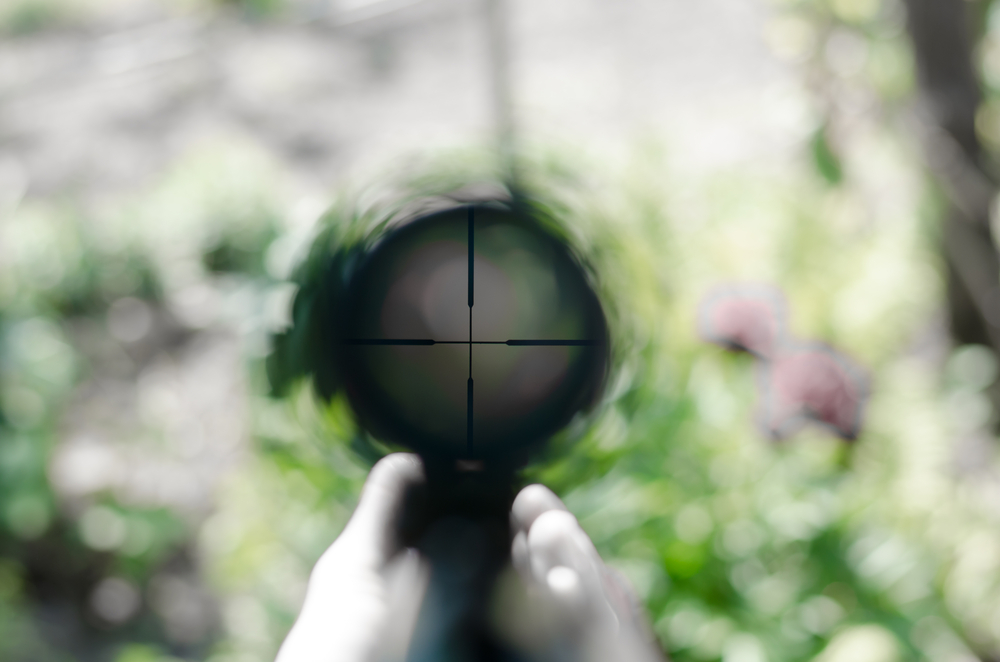
When you are hunting at night and need to see what’s in the scrub or just beyond a fence or wall, choose the night vision monocular over your regular rifle scope. If using a standard daytime monocular, you’ll only see fuzzy images.
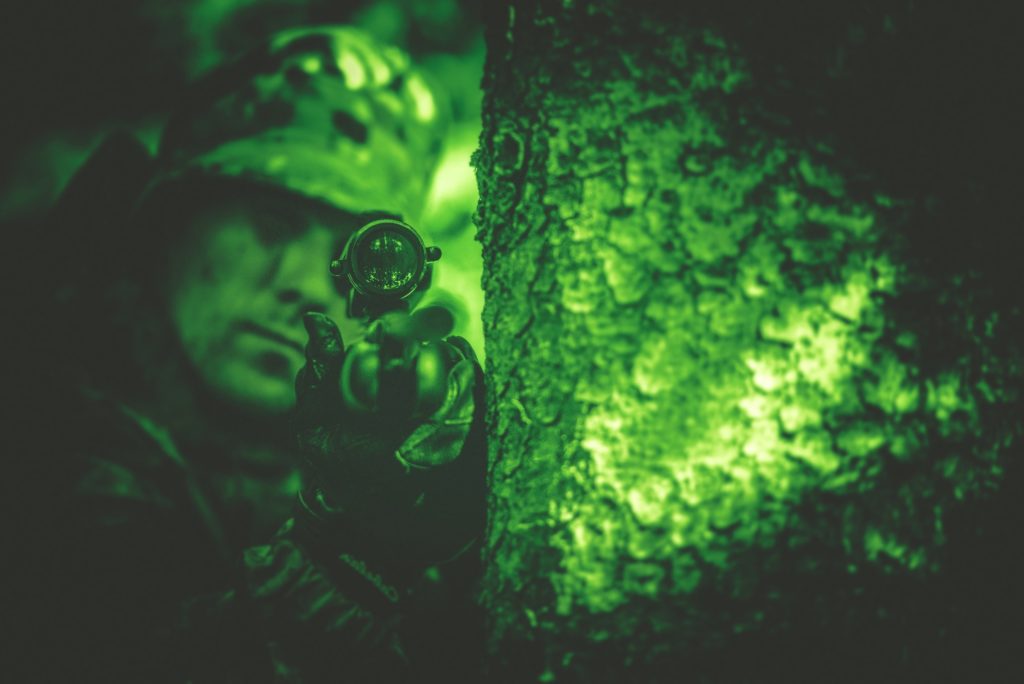
Night vision monocular scopes are commonly used by hunters at night to see game animals and deer in their hiding places without scaring them by shining bright torch lights into the woods. That’s because animals at night tend to be hotter than the woods and trees they’re surrounded by, so thermal imaging through your night vision monocular makes them stick out.
While any kind of optic can be used when hunting, combining a night vision monocular with a rifle is particularly useful when you need to see at night but don’t want to aim your gun and have to deal with and hold something else steady. That’s why many hunters prefer to attach a night vision optic such as a monocular to a rifle scope.
Attaching a Night Vision Monocular To a Scope, Step By Step:
There are two ways of using a night vision monocular with a rifle scope. The first way is to mount it in front of the scope, and the second is behind it. Both can be easily attached to your rifle, but depending on our preference and type of scope will depend on where it sits.
In Front Of The Scope
To attach a night vision monocular to your scope or rifle (in front), follow these simple steps:
- Take your night vision monocular unit out of the carry case carefully. Be careful not to drop it or damage the lens. It will render the device useless.
- Make sure your NVM is turned on and fully charged. Use the weapon’s safety so that there is no chance of an accidental discharge.
- Inside the case, you should find various different pieces, including adapters, mounts, clean anti-static material, and sometimes a remote control for the device.
- If your regular scope has an adapter fitted to the end, take it off. Now grab the night vision monocular and take off the rubber eyepiece adapter.
- Find the mounting adapter that came with your unit. Remove any plastic covers.
- Attach the bayonet fitting of the mounting adapter to the monocular, and then the other end of the adapter simply pushes in and twists into the rifle scope using the bayonet fitting.
- Point the weapon down range and aim it at what you want to see in detail. Put your eye into the NVM eyepiece and adjust the focus for an optimal image enhancement. Observe what you’re aiming at. If you need to, use the monocular’s magnification to bring out more detail in what you see.
Behind The Scope
- Follow steps 1-3 as outlined above.
- Gather the ring screws and other fittings that came with the monocular.
- Wipe the rifle and monocular base of any grease or dirt using a clean cloth. Now would be a good time to apply a small drop of rust preventive material or oil to the base.
- Mount the bottom half of the base onto the rifle.
- Find the pre-drilled mounting holes on the front and back upper halves of the monocular. Make the necessary adjustments to align the holes and use the ring screws to tighten the device to the mounting system. Apply some semi-permanent thread freezing compound for a tight fit if you have some.
- Double-check the alignment and aim by looking down the monocular and through the scope.
- Tighten the screws, but not too much.
How To Use a Night Vision Monocular With a Scope
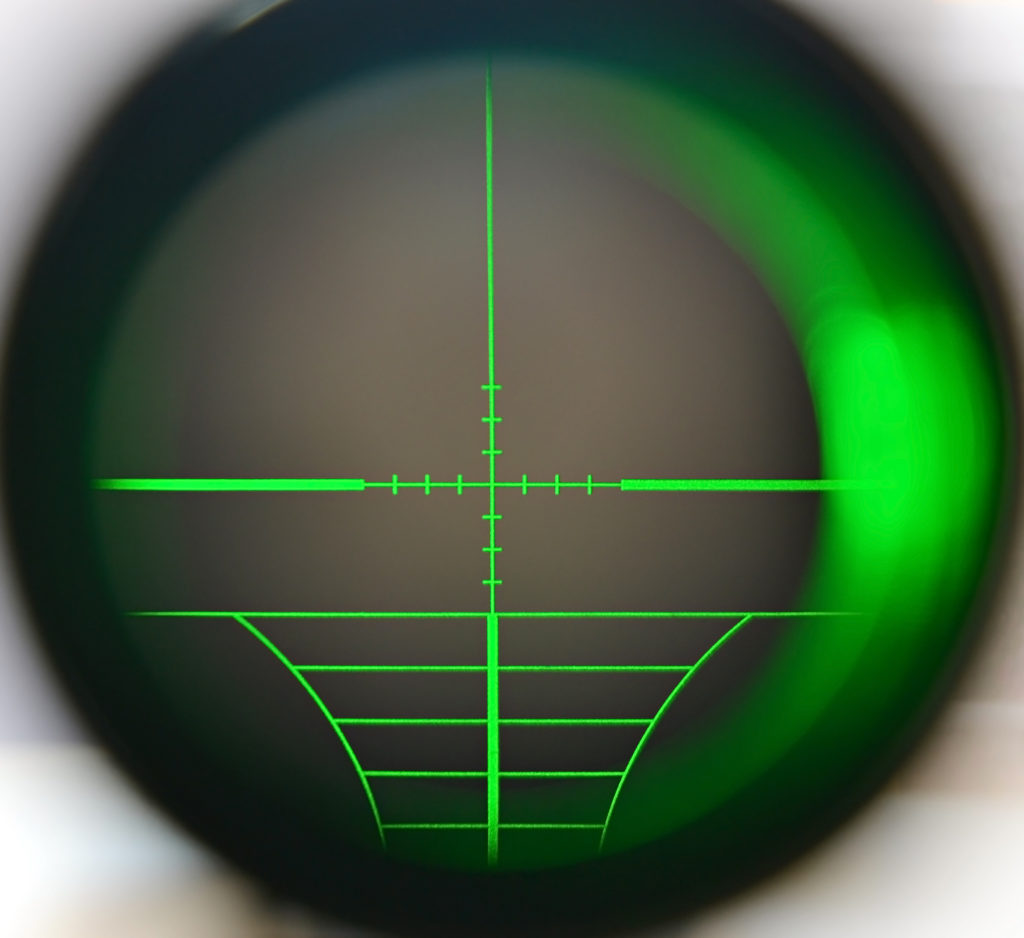
- Look through your scope or sight in the daytime with both eyes open until you can see its crosshairs clearly. This may take a while and some practice so that your eye muscles get used to seeing things in this way. Then, turn your scope or sight over to night vision when you’re ready.
- Adjust the focus so that you are able to see the details at a range of about 20 yards (to be on the safe side).
- Look through your scope again. Use the all-night vision setting if you have one, and keep both eyes open. You should see a bright green dot with a red circle around it in each eye’s view. If not, things may be out of focus or not adjusted right.
- Keep both eyes focused in position on whatever you’re aiming at. To adjust to move closer or further away, adjust the focus again.
- When you are satisfied with the range of your sight picture, turn your rifle or scope over to daylight view and check for the dot on your target. If you don’t have a light or if it isn’t bright enough, you’ll see nothing at this distance. If it’s there, you’re good to go!
- If your rifle has a night vision setting built-in (or if you have another device without a night vision option), make sure that it is turned on. Look at something right in front of you. The green dot should come up and stay where it is aimed. Adjust the adjustment knobs on your scope so that the image is right where you want it.
- Use the attached night vision monocular to ensure that you’re on target. If there is an issue with your position, adjust it so that the target is in its centre (or whatever range you want). It’s best to do this before firing, or you might miss an optimal shot.
- When everything is set up, take a trip to the woods and test it out. Remember to make sure that your night vision monocular is turned off when you’re done; if not, the batteries will be depleted quickly.
Final Thoughts
Now you know how to attach a night vision monocular to a scope; hopefully, you can see distant objects and start exploring a whole range of living creatures that your daytime scope wouldn’t capture.
However, night vision monoculars aren’t practical for everyday use unless they are attached to a high-powered rifle or bow with a good mounting system. Nonetheless, if you are in an extreme hunting or tactical setting and need to be able to see in the dark, they are a lifesaver.
You might also want to read my article titled “How To Use A Monocular“, which also includes an explanation of how they work and how to set one up for best performance.
Additional Resources
Sources and References
- Can You Use a Night Vision Monocular With a Rifle Scope? – quora.com
- How To Zero Your Own Rifle – shootinguk.com
Sam loves to learn about animals and their habitats. He has been a nature lover from a very young age, and has been writing papers and articles about wildlife for as long as he can remember.